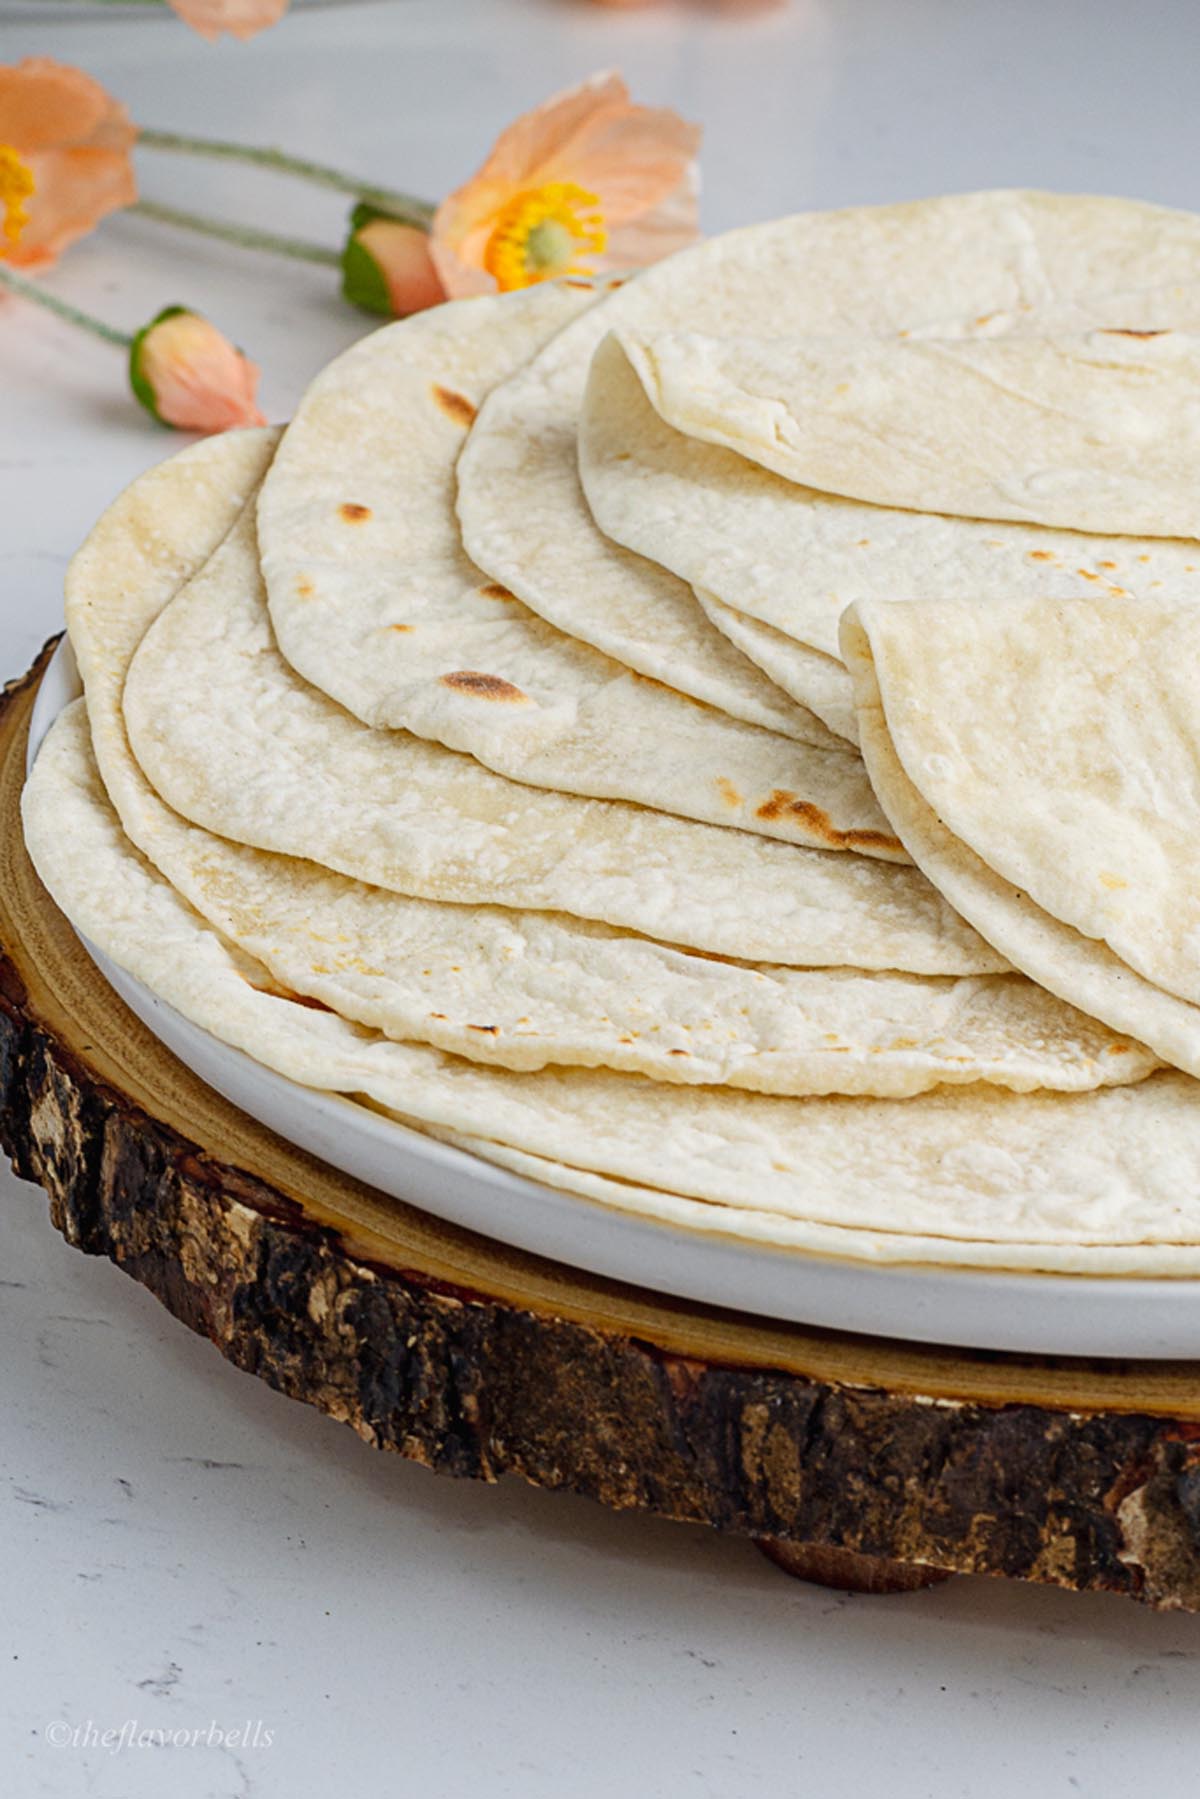
These quick sourdough discard tortillas are the perfect way to turn your extra starter into delicious, soft, and pliable homemade flour tortillas. No need for special ingredients or long fermentation—just a few pantry staples, a skillet, and your sourdough starter discard. These under 30 minutes tortillas are so easy and flavorful, you'll skip the store bought ones for good.
Jump to:
👩🏽🍳Why You’ll Love These Sourdough Discard Tortillas
Here’s why this sourdough tortilla recipe should be your next kitchen adventure:
- Waste-free: A creative way to use up your discard from an active sourdough starter.
- Quick and easy: No fermentation time—ready in under 30 minutes.
- Soft and flexible: Perfect for wraps, burritos, tacos, or even sourdough sandwich bread substitutes.
- Customizable: Works well with whole wheat flour, olive oil, or herbs.
- Better than store-bought: No preservatives, just real flavor and wholesome ingredients.
🧂Ingredient Notes for Sourdough Discard Tortillas
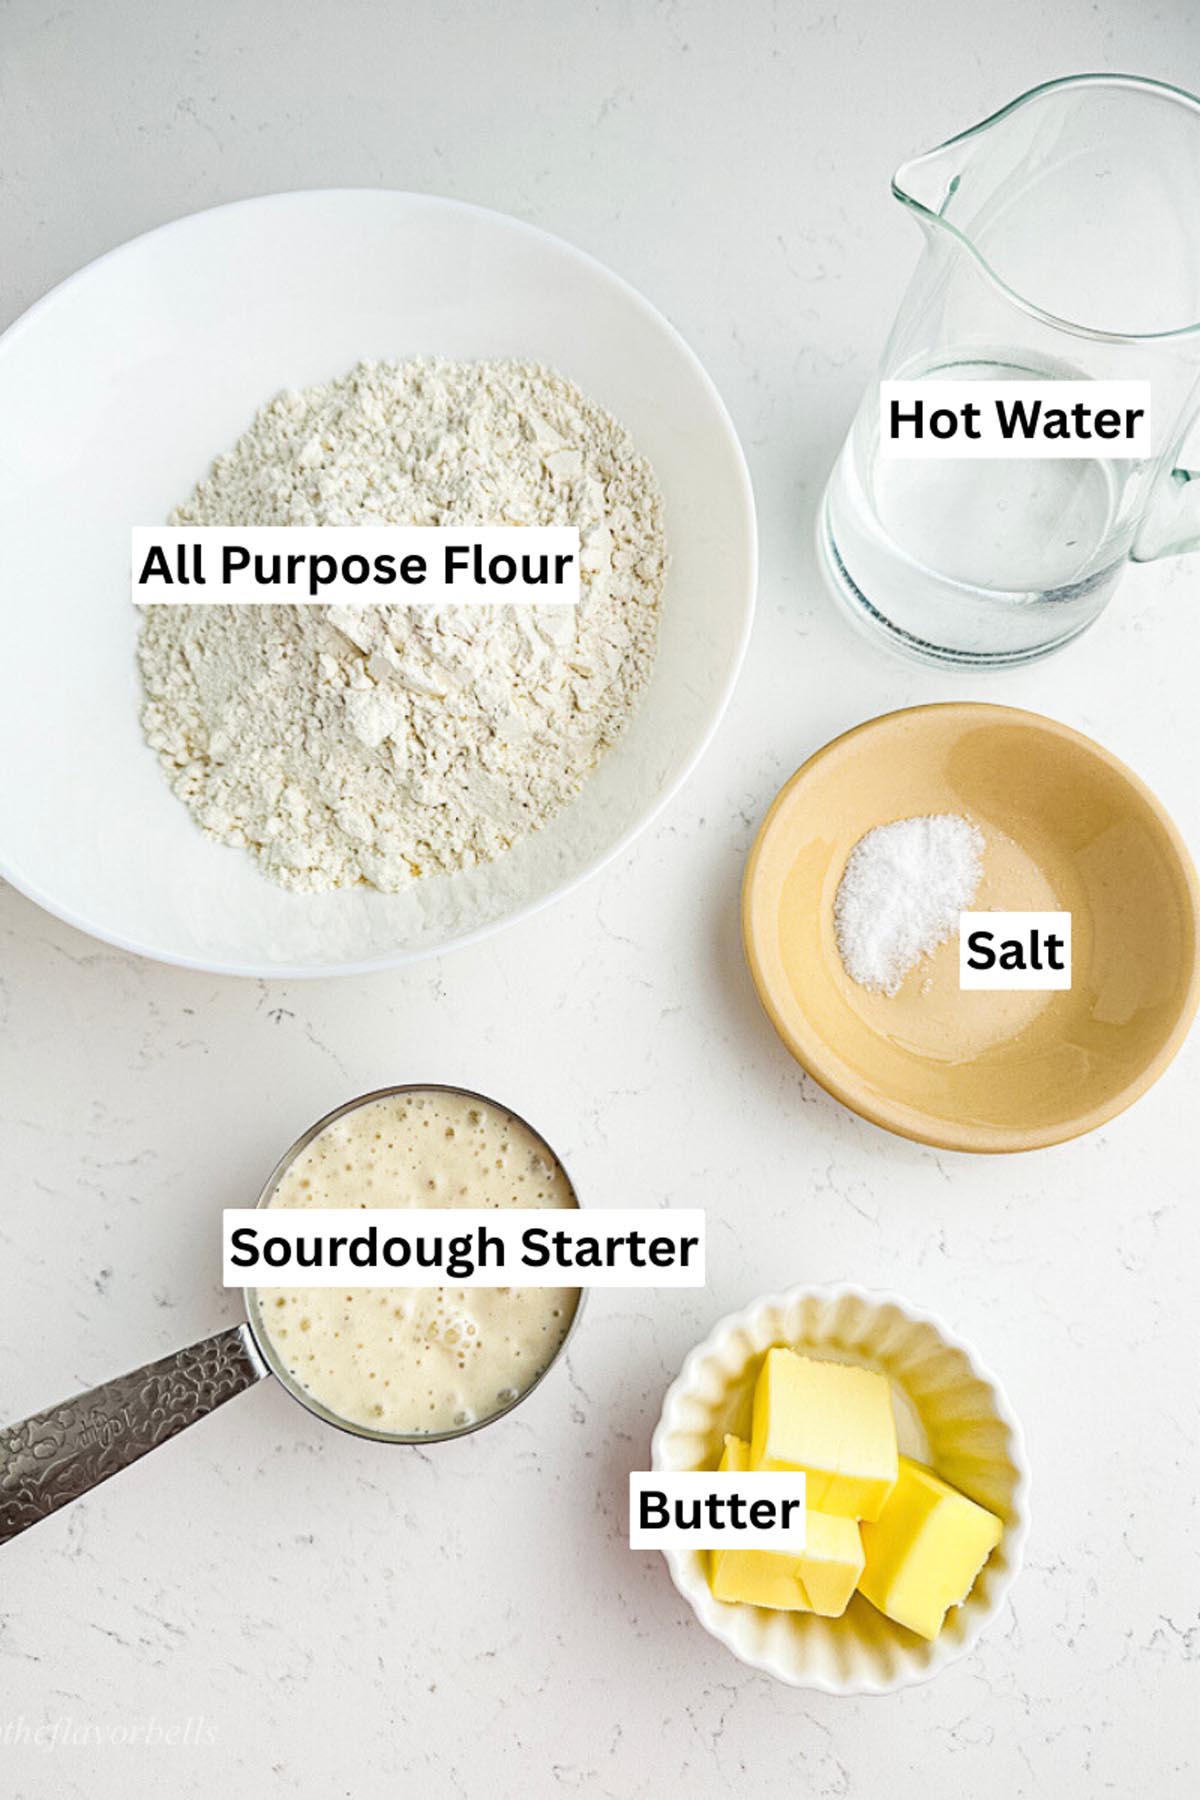
Here’s what goes into these soft and chewy sourdough discard wraps, and how you can tweak it to your liking:
- All All-purpose flour: The base of most tortilla recipes. You can use bread flour for chewier tortillas or whole wheat flour for a rustic, earthy bite. For gluten-free versions, try a 1:1 gluten-free flour blend.
- Sourdough Discard or Starter: Use room temperature sourdough discard from an active starter or one that's been stored in the fridge. Both work beautifully in this recipe. You can also use a bubbly starter if you want a slight tang.
- Salt: Brings out flavor. Use sea salt or Himalayan pink salt if preferred.
- Butter: Makes the tortillas soft and flavorful. You can swap in olive oil or avocado oil for a dairy-free option. Traditional tortillas use lard.
- Hot Water: Helps bind the dough and activate the gluten. Make sure it’s hot but not boiling—ideal for forming a pliable sourdough tortilla dough.
🔪How to Make Sourdough Discard Tortillas (Step-by-Step)
1. Kneading dough
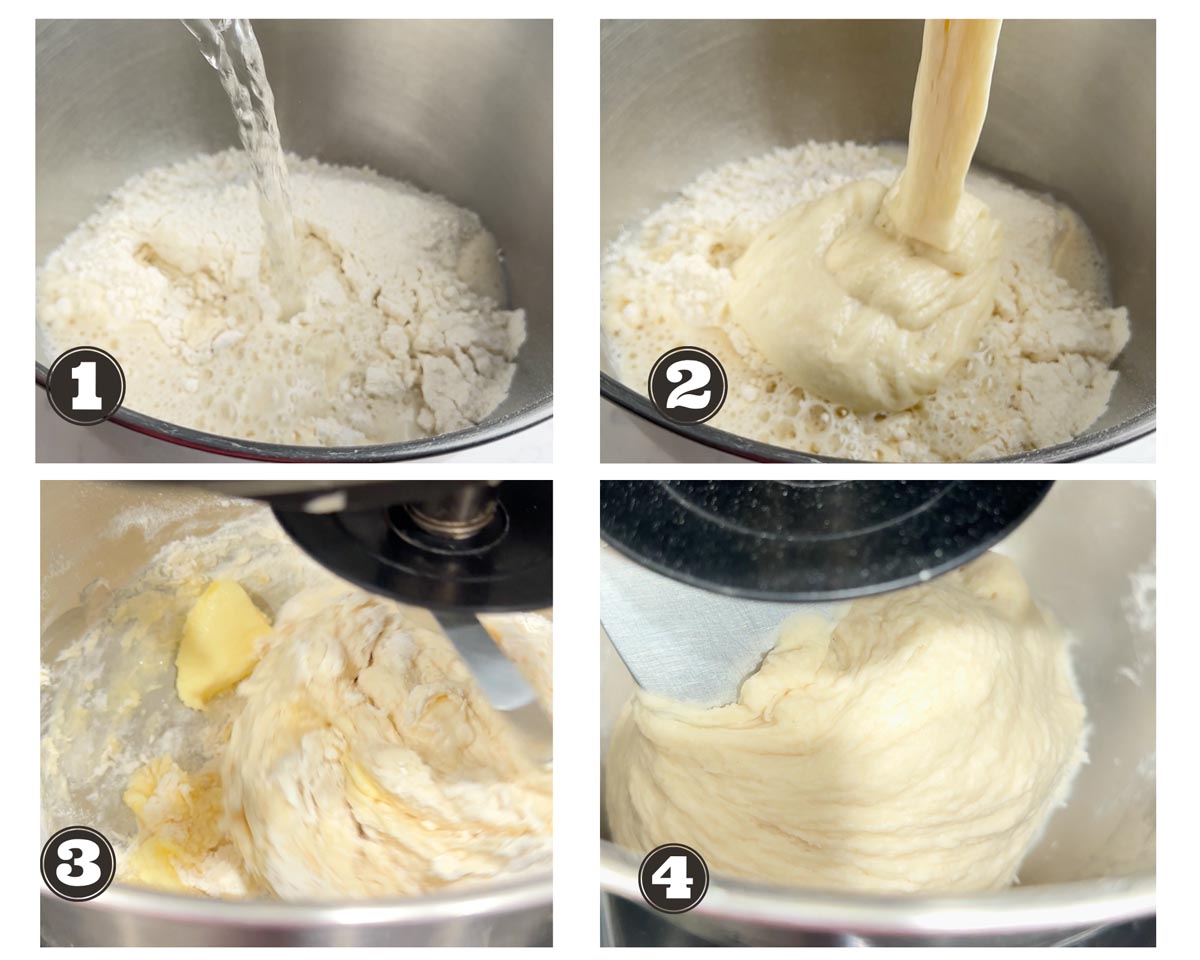
In a large mixing bowl, whisk together the flour and salt until evenly combined. Add your sourdough discard and begin to gradually pour in the hot water, stirring with a wooden spoon or spatula. Mix until a shaggy, sticky dough forms and most of the flour is hydrated.
If using a stand mixer: Attach the dough hook and knead on low speed for 5 to 6 minutes, or until the dough becomes smooth and elastic and pulls away from the sides of the bowl.
If kneading by hand: Once the dough comes together, transfer it to a lightly floured surface. Knead the dough using the heel of your hand, pushing it forward and folding it back over itself. Rotate it slightly each time. Continue this motion for 8 to 10 minutes, adding just a sprinkle of flour if it feels too sticky.
The dough should become soft, smooth, and slightly tacky but not wet.
2. Rest
Cover the dough with a damp towel and let it rest at room temperature for 20–30 minutes. This helps the gluten relax, making it easier to roll out.
3. Divide
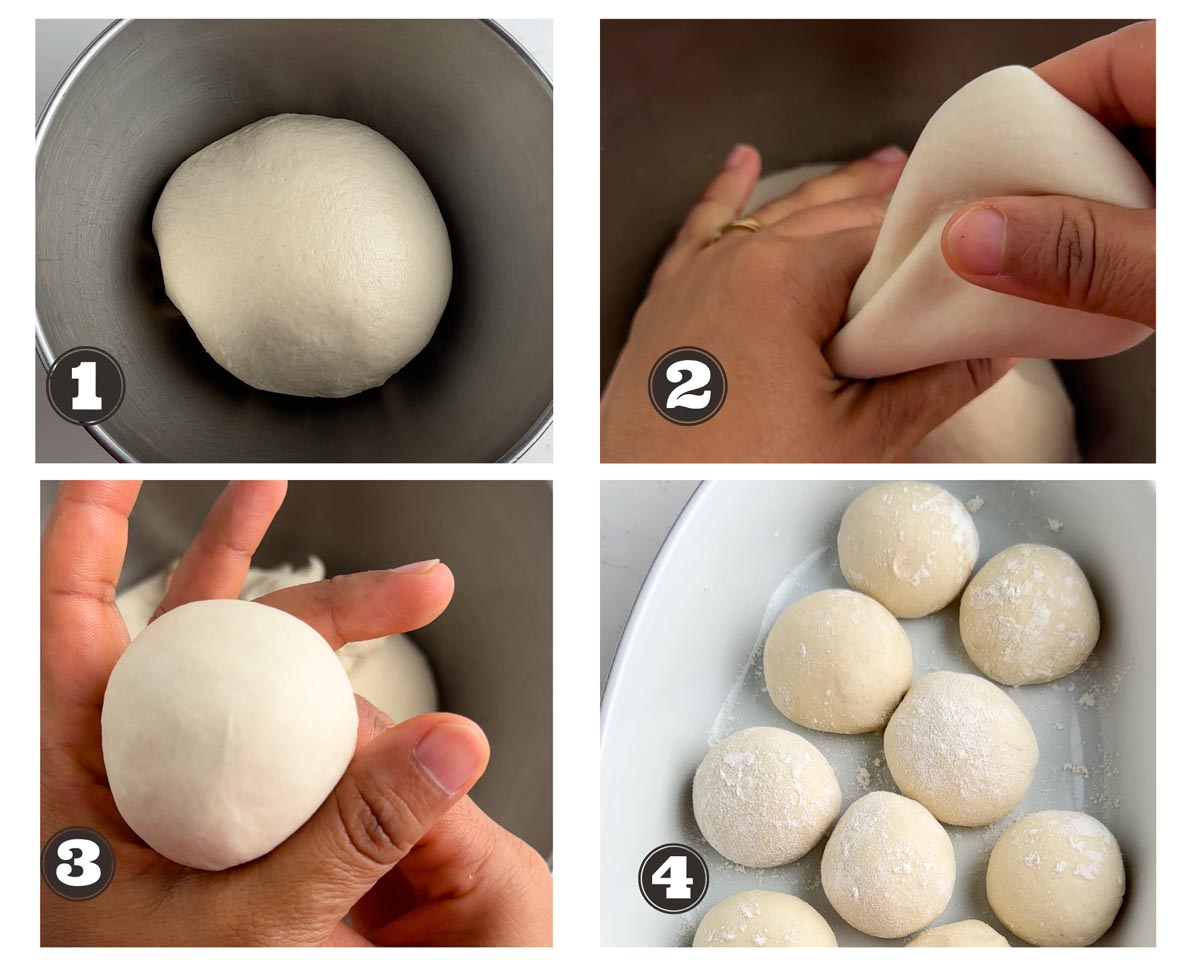
Divide the dough into 12 equal portions and shape each into a ball. You can simply eyeball it or use a scale. Cover the dough balls with a kitchen towel to prevent drying and let them rest for 5 minutes.
4. Rolling or shaping the sourdough Tortillas
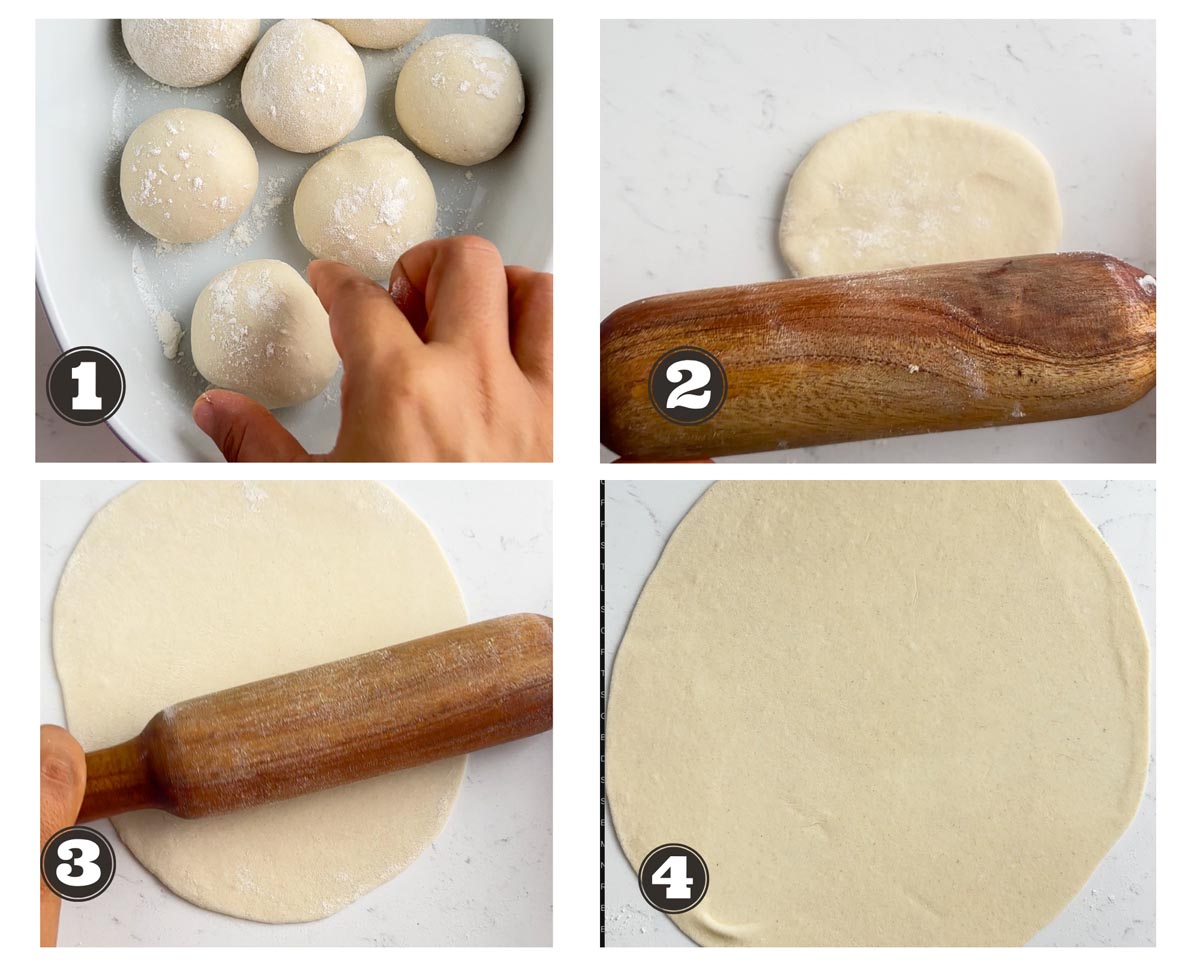
Use a rolling pin or tortilla press lined with greased sheets on both sides to flatten each dough ball into a thin circle without sticking to the press.
If you're using a rolling pin, dust the surface lightly with flour as needed to prevent sticking and ensure smooth rolling. These tortillas are very forgiving and easy to roll out—aim for about ⅛ inch thickness.
If you're not confident with rolling dough quickly, it's a good idea to roll out all the tortillas first, keeping them covered with a towel to prevent drying. Then cook them one by one once they’re all ready.
4. Cook on a Skillet
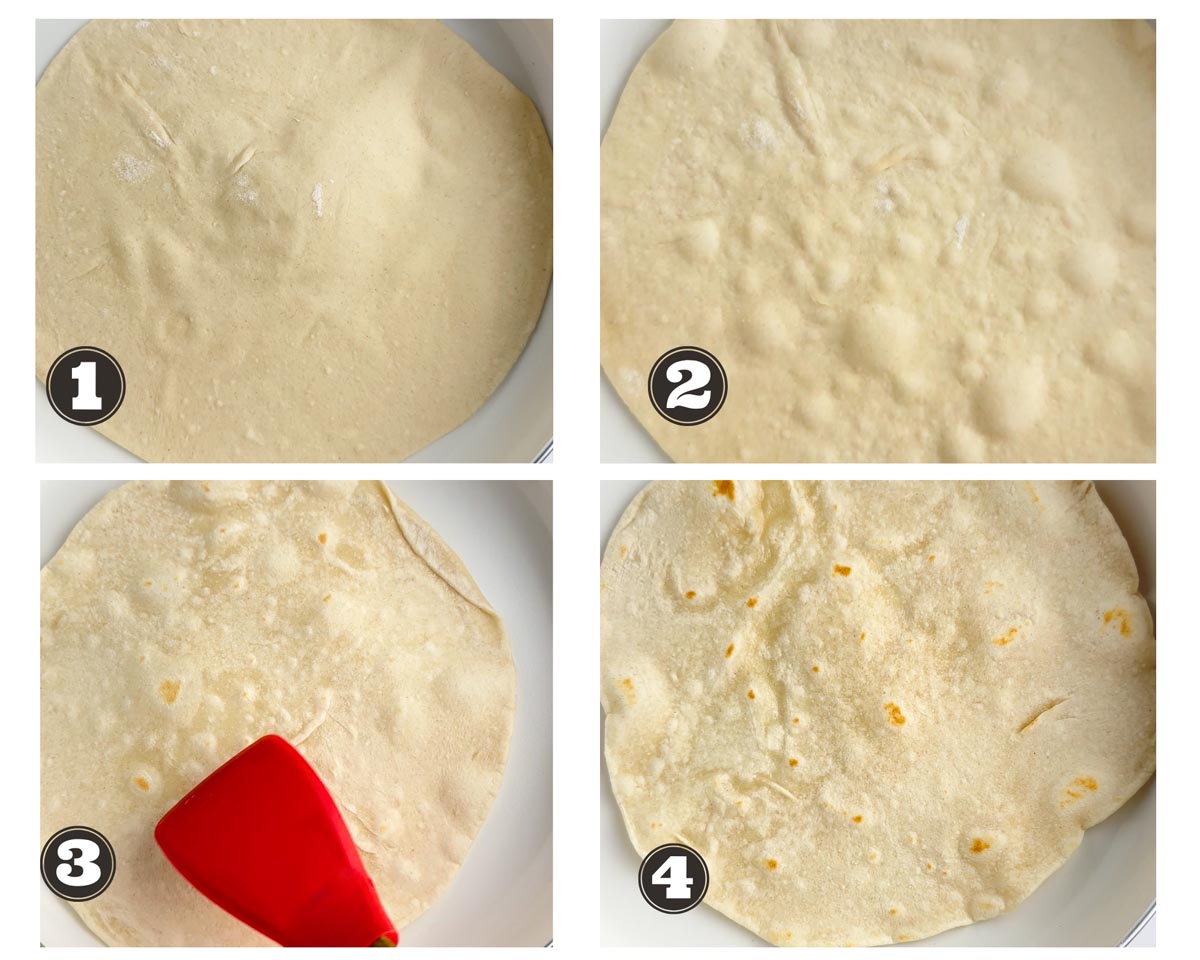
Preheat your cast iron skillet or griddle over medium heat until hot. Place one tortilla at a time and cook for 30–45 seconds per side, until bubbles form and light golden spots appear. Flip and repeat. Adjust heat as needed to avoid burning.
5. Keep Warm and Serve
Place the cooked tortillas in a clean kitchen towel to keep warm and soft. Serve immediately or let them cool on parchment paper before storing.
📝Recipe Notes & Tips
- If your dough feels too sticky, add a little purpose flour while kneading.
- For extra flavor, mix in garlic powder, cumin, or fresh herbs.
- You can use this same dough for burrito bread, mini sourdough taco shells, or even homemade tortilla bread pizza.
- Want a nutty twist? Replace ⅓ of the flour with whole wheat flour.
- Resting the dough helps with rolling and ensures soft, pliable sourdough tortillas.
- If using a store-bought starter, feed it and use the fresh discard.
- This discard tortilla recipe is great for experimenting—add cheese, spinach purée, or beet juice for color and flavor.
🔗More flatbread recipes
- Sheermal
- Bullet naan
- Kulcha
- Cheese naan
- Turkish bread
- Malabar paratha
- Sourdough discard naan
- Sourdough whole wheat pita
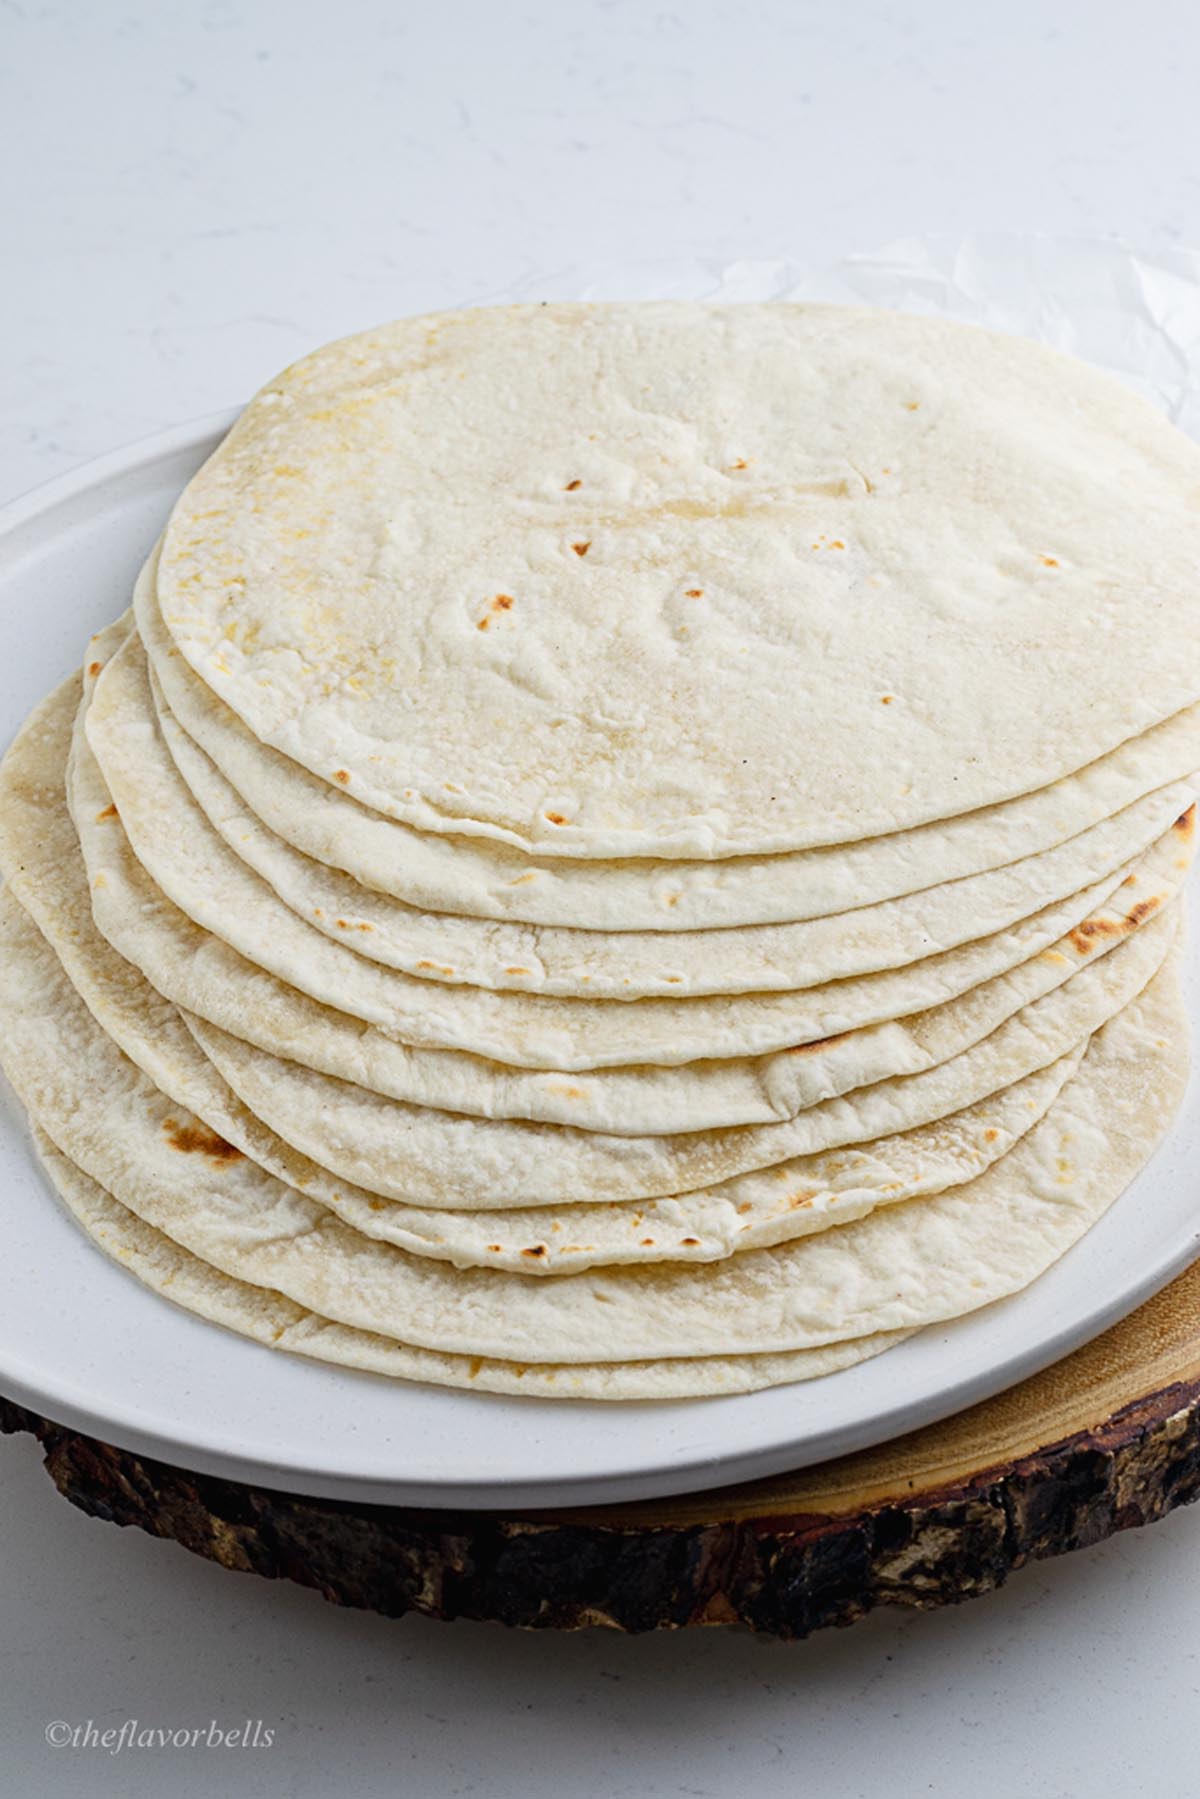
These sourdough discard tortillas are soft, flavorful, and ready in a pinch—perfect for tacos, wraps, or burritos. If you’ve got a sourdough starter, this sourdough discard tortilla recipe is a must-try. Don’t forget to leave a rating and share your take on this recipe in the comments!
Sourdough Discard Tortillas
Ingredients
- 270 g all purpose flour 2 ¼ cups (approx.)
- 160 g water 2 tablespoon less than ¾ cup
- 3 g salt (½ tsp)
- 40 g butter softened (3 tbsp)
- 1 cup sourdough discard
Instructions
Knead the Dough
- In a large mixing bowl, whisk together the flour and salt so the salt is evenly distributed. Add the sourdough discard, then gradually pour in the hot water while mixing with a wooden spoon or spatula. Keep stirring until a rough, sticky dough comes together and most of the flour is absorbed.
- Using a stand mixer: Attach the dough hook and knead on low speed for 5 to 6 minutes, or until the dough becomes smooth, elastic, and starts pulling away from the sides of the bowl.
- Kneading by hand: Transfer the dough to a lightly floured surface. Knead by pressing the dough forward with the heel of your hand, folding it back, turning slightly, and repeating the motion. Knead for 8 to 10 minutes, adding a sprinkle of flour if it's too sticky to work with. The dough should feel smooth, soft, and slightly tacky—but not wet.
Rest
- Once kneaded, shape the dough into a ball and cover it with a damp towel. Let it rest at room temperature for 20–30 minutes. This helps the gluten relax, making the dough easier to roll out later.
Divide
- After resting, divide the dough into 12 equal portions. You can eyeball it or use a kitchen scale for accuracy. Roll each piece into a ball and keep them covered with a kitchen towel to prevent drying. Let the dough balls rest for another 5 minutes before rolling.
Roll or Shape the Sourdough Tortillas
- Use a tortilla press lined with lightly greased parchment or plastic sheets, or a rolling pin, to flatten each dough ball into a thin circle.
- If using a rolling pin, work on a lightly floured surface, and roll the dough evenly, rotating it as needed. These tortillas are very forgiving—aim for about ⅛-inch thickness.
- If you’re not quick at rolling and cooking simultaneously, roll out all the tortillas first and keep them covered with a towel so they don’t dry out. Then cook them one at a time.
Cook on Skillet
- Heat a cast iron skillet or griddle over medium heat until hot. Place one tortilla on the skillet and cook for 30–45 seconds per side, or until bubbles form and golden spots appear. Flip and repeat. Adjust the heat as needed to prevent burning.
Keep Warm and Serve
- Transfer cooked tortillas to a clean kitchen towel and wrap them to keep warm and soft. Serve them immediately, or let them cool on parchment paper before storing.
Notes
- Use room temperature sourdough discard: Cold discard straight from the fridge can make the dough stiff and hard to mix. Let your sourdough starter discard come to room temperature for best results.
- Don’t overflour the surface: When rolling the tortillas, lightly flour your work surface, but avoid adding too much or it can make the dough tough. These sourdough tortilla wraps roll out easily if the dough has rested properly.
- Butter substitutes: If you prefer a dairy-free option, olive oil or avocado oil works well in place of butter. You can also use lard, shortening, or coconut oil if you w123ant to mimic more traditional flour tortilla recipes.
- Sticky dough? Add a small amount of flour, 1 tablespoon at a time, only if needed. The dough should be slightly tacky but easy to handle after kneading and resting.
- Using whole wheat flour: You can replace up to half of the all-purpose flour with whole wheat flour for more flavor and fiber. The tortillas will be slightly less soft but still pliable and delicious.
- Tortillas too dry or stiff? This usually happens when the dough hasn't rested long enough or the pan is too hot. Let the dough rest at least 20–30 minutes and cook each one for no more than 30–45 seconds per side.
- Want to make ahead? Roll all the tortillas and store between sheets of parchment paper, then cover and refrigerate until ready to cook. Perfect for busy weeknights.
Nutrition
🫙🔥Storage and Reheating Instructions
- Room Temperature: Wrap cooled tortillas in foil or store in an airtight container for up to 2 days.
- Refrigerator: Store for up to 5 days. Stack between sheets of parchment paper to avoid sticking.
- Freezer: Freeze in zip-top bags with parchment between each tortilla for up to 2 months.
- Reheat: Warm on a skillet or directly over a gas flame for a few seconds per side. Microwaving is okay but may reduce pliability.
❓FAQs
The main difference lies in the use of sourdough starter discard instead of just water or milk. The sourdough discard adds a subtle tang, more depth of flavor, and a slightly chewier texture to the tortillas. These discard tortillas are also more nutritious thanks to the fermentation process involved in sourdough starters. Unlike traditional flour tortilla recipes, this version helps reduce waste while introducing beneficial bacteria and pre-digested gluten, making them easier to digest. Plus, they’re customizable—you can add herbs, spices, or even make sourdough tortilla wraps for burritos, tacos, or lunch rolls.
Absolutely! While a tortilla press gives you perfectly round and uniform tortillas, it’s not required. A rolling pin and a lightly floured surface work just as well. I have not used any special equipment for rolling the tortillas. Just a rolling pin and a little bit of practice. You can even press them with a flat-bottomed skillet or a plate. The key is to roll them evenly and thin enough for quick cooking. And if they aren't perfectly round—don’t worry. That rustic charm is part of the appeal. Just make sure your skillet is hot enough so they puff slightly and get those beautiful golden spots.


Leave a Reply