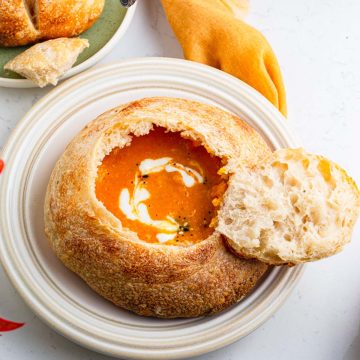
Sourdough Bread Bowl
Get ready to fall in love with the ultimate artisan sourdough bread bowl recipe—where tangy, chewy perfection meets rustic charm! Picture this: a golden, crusty bowl fresh from your oven, begging to be filled with creamy soup or a hearty dip, turning every bite into a warm, soul-hugging delight.
Ingredients
- 350 g Bread flour about 2 ¾ cups
- 260 g water divided (250+10)g ( 1 cup +1 tbsp)
- 70 g sourdough starter about ¼ cup
- 7 g Salt 1 ½ tsp
Instructions
Step 1: Mix and Develop the Dough
- Combine bread flour and most of the water (reserving a small amount) in a stand mixer fitted with a dough hook.
- Mix on low speed until a rough, shaggy dough forms, then increase speed slightly and knead for 5-7 minutes until the dough develops elasticity.
- Cover the bowl with a damp towel and let the dough autolyse for 40 minutes to allow flour absorption and gluten development.
- After autolyse, add the sourdough starter and incorporate it using the pincer method (pinch and fold the dough to distribute the starter evenly). Cover and let the dough rest for 20 minutes.
- Mix the remaining water with salt (bassinage) and slowly incorporate it into the dough to maintain hydration and strength.
- Cover and rest for 30 minutes before performing coil folds.
Step 2: Bulk Fermentation with Coil Folds or Stretch and Folds
- Perform four rounds of coil folds or stretch and folds, spaced 30 minutes apart:
- o Stretch and Fold: Grab one side of the dough, stretch it upwards, and fold it over itself. Rotate the bowl and repeat on all sides.
- o Coil Fold: Gently lift the dough from the center, allowing the edges to tuck under as it folds onto itself.
- By the end of bulk fermentation, the dough should be puffy and slightly domed.
Step 3: Divide and Shape the Sourdough Bread Bowls
- Lightly flour a clean surface and turn the dough out onto it.
- Divide the dough into portions based on the desired size of the bread bowls (e.g., two large or four small).
- Shape each portion by gently gathering the edges toward the center, flipping it over, and rolling it into a smooth ball to create surface tension.
- Let the shaped dough rest uncovered for 20 minutes to relax the gluten.
- Reshape each dough ball by gently pulling the edges under to create a smooth, taut surface.
- Place each shaped dough seam-side up into a small, floured bowl to maintain its shape during proofing.
Step 4:Proofing
- Cover with a towel and choose a proofing method:o Cold Retard (Overnight Proofing): Refrigerate the dough overnight for enhanced flavor and structure. Before baking, let it come to room temperature for 30-60 minutes.o Room Temperature Proofing: Proof at room temperature for 1-2 hours until the dough looks slightly puffy and airy.
Step 5: Bake the Bread Bowls
- Preheat the oven to 475°F (250°C) at least 45 minutes before baking. If using a baking stone, baking steel, or inverted baking sheet, place it in the oven to preheat.
- For steam, place a pan filled with lava rocks on the lower rack of the oven while preheating. Pour hot water over the rocks when placing the bread in the oven.
- Gently invert the proofed dough onto parchment paper and score the tops with a sharp blade for controlled expansion.
- Transfer the dough to the preheated baking surface and bake:o 20-25 minutes for larger bread bowls.o 15-17 minutes for smaller bread bowls.
- Bake until the bread bowls are deep golden brown and sound hollow when tapped on the bottom.
Step 6: Cool and Serve
- Transfer the baked bread bowls to a wire rack and let them cool completely before cutting.
- To create the bowl, use a small serrated knife to cut a circular opening on the top of each loaf.
- Remove the cut-out lid and scoop out some of the soft bread crumbs from inside, leaving enough bread to maintain structure.
- Briefly bake or air-fry the bowl to keep it crispy and prevent sogginess on filling with soup or stews.
- Fill the bread bowls with your favorite soup, chowder, or dip and enjoy!
Notes
- Avoid Over-Flouring: Use minimal flour on your work surface when shaping the dough. Excess flour can dry out the dough and negatively impact its texture.
- Handle Sticky Dough Carefully: Use wet hands or a dough scraper to handle sticky dough instead of adding more flour.
- Monitor Bulk Fermentation: Allow the dough to rise until it becomes puffy and slightly jiggly, but avoid overproofing.
- Do Not Skip Autolyse: Resting the flour and water mixture before adding the starter and salt (autolyse) is essential for improving gluten development and dough elasticity.
- Preheat Your Oven Properly: Ensure your oven is fully preheated to the correct temperature (450-475°F or 230-250°C) for optimal rise and crust formation.
- Crisp the Bread Bowl: After removing the crumbs from the bread, briefly bake or air-fry the bowl to keep it crispy and prevent sogginess when filled with soup.
📝 Nutrition Facts
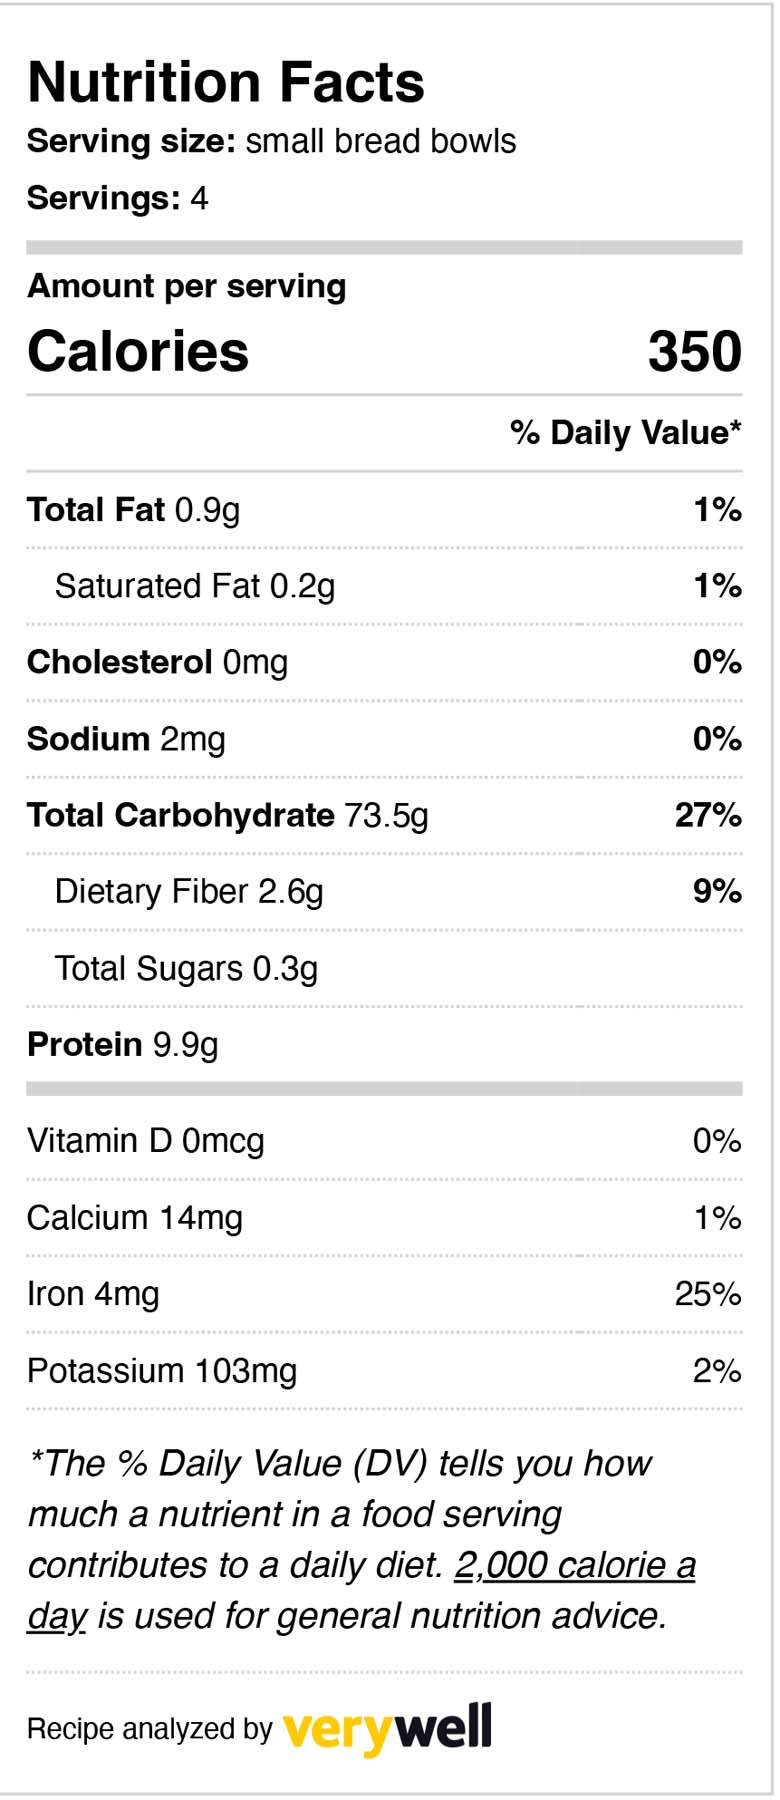
Nutrition
Calories: 350kcal
Tried this recipe?Let us know how it was!