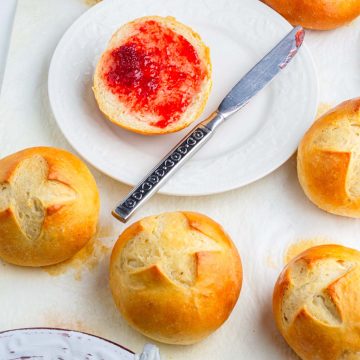
Danish Buns: Sweet Cardamom Buns
There’s something magical about biting into these freshly baked Danish bun—sweet, soft and pillowy breakfast rolls infused with warm spices. This recipe is my take on the Rundstykker,
delicately spiced with cardamom that will fill your kitchen with an irresistible aroma, making your morning feel special.
Ingredients
- 400 g All purpose Flour (3 ¼ cups approx.)
- 6 g Instant Yeast (2 Tsp)
- 285 g Whole milk (1 ¼cups)
- 20 g Oil (1 ½ tbsp)
- 5 Whole green Cardamoms or ground cardamom (½ tsp)
- 6 g Salt (1 tsp)
- 22 g Sugar ( 4 tsp)
Instructions
Step 1: Combining Ingredients
- Bring milk to slightly above room temperature by giving it a quick run in a microwave 70-79°F (21-26°C) for optimal yeast activation (finger test: should feel neither cold nor hot).
- In a large bowl, mix flour, yeast, sugar, salt, and cardamom evenly.
- Add warm milk and oil, stir until a shaggy, slightly sticky dough forms.
Step 2: Kneading the Dough
- Stand Mixer: Attach the dough hook attachment and knead on low to medium speed for about 8–10 minutes until the dough becomes smooth, elastic, and not at all sticky. The dough should pull away from the sides of the bowl but still feel soft. If it sticks too much, add a tiny bit of flour; if it feels dry, add a teaspoon of milk.
- Hand Kneading:Transfer the dough onto a lightly floured surface and use the push, fold, and turn method. Push the dough away with the heel of your hand, fold it back, then rotate slightly before repeating. Knead for 12–15 minutes until it feels soft, stretchy, and smooth. A good way to test readiness is the windowpane test—stretch a small piece of dough between your fingers; if it becomes thin enough to see light through without tearing, it’s ready!
Step 3: Bulk Fermentation
- Place dough in a greased bowl, cover with a towel/plastic wrap.
- Let rise in a warm spot (75–80°F/24–27°C) for 1.5–2 hours until doubled.
- Cold kitchen tip: Use the oven with light on or a warm area.
Step 4: Shaping the Buns
- Gently deflate the risen dough and divide it into 8 equal portions (~90g each).
- Shape each into smooth balls by tucking edges underneath and rolling against the counter.
- Place on a parchment-lined tray, spaced apart for expansion.
Step 5: Proofing the Buns
- Cover with a towel/plastic wrap; proof at 75°F (24°C) for 45–60 mins until puffy.
- Test readiness: Press lightly—dough should spring back slowly.
Step 6: Scoring, Spraying & Baking
- Preheat oven to 380°F (193°C).
- Lightly score bun tops with a sharp knife/lame.
- Spray with water for steam (better oven spring).
- Bake for 18 mins until golden brown.
Step 7: Finishing Touch
- For soft buns: Brush with melted butter right after baking.
- For crispy crust (like Rundstykker): Skip butter; cool uncovered.
- Serve warm with butter, jam, or cheese!
Notes
- Use all-purpose flour (10–11% protein) for soft buns; include up to 30% bread flour for added chewiness.
- For yeast:
o Instant yeast can be mixed directly into the dough.
o Active dry yeast requires proofing in lukewarm milk (maximum 110°F/43°C). - Enhance flavor with freshly ground cardamom; substitute with cinnamon or nutmeg if needed.
- Proofing:
o Let dough rise in a warm place (75–80°F) until doubled (about 1.5–2 hours).
o For better flavor, slow-proof the dough in the fridge overnight. - Fixing dough issues:
o Over-proofed dough: Gently reshape and allow a brief second proofing.
o Under-proofed dough: Extend proofing time in a warm area. - Baking:
o For soft buns: Brush with butter immediately after baking.
o For crispy buns (Rundstykker-style): Mist with water before baking and skip the butter brushing. - Rotate the baking tray halfway through for even coloring.
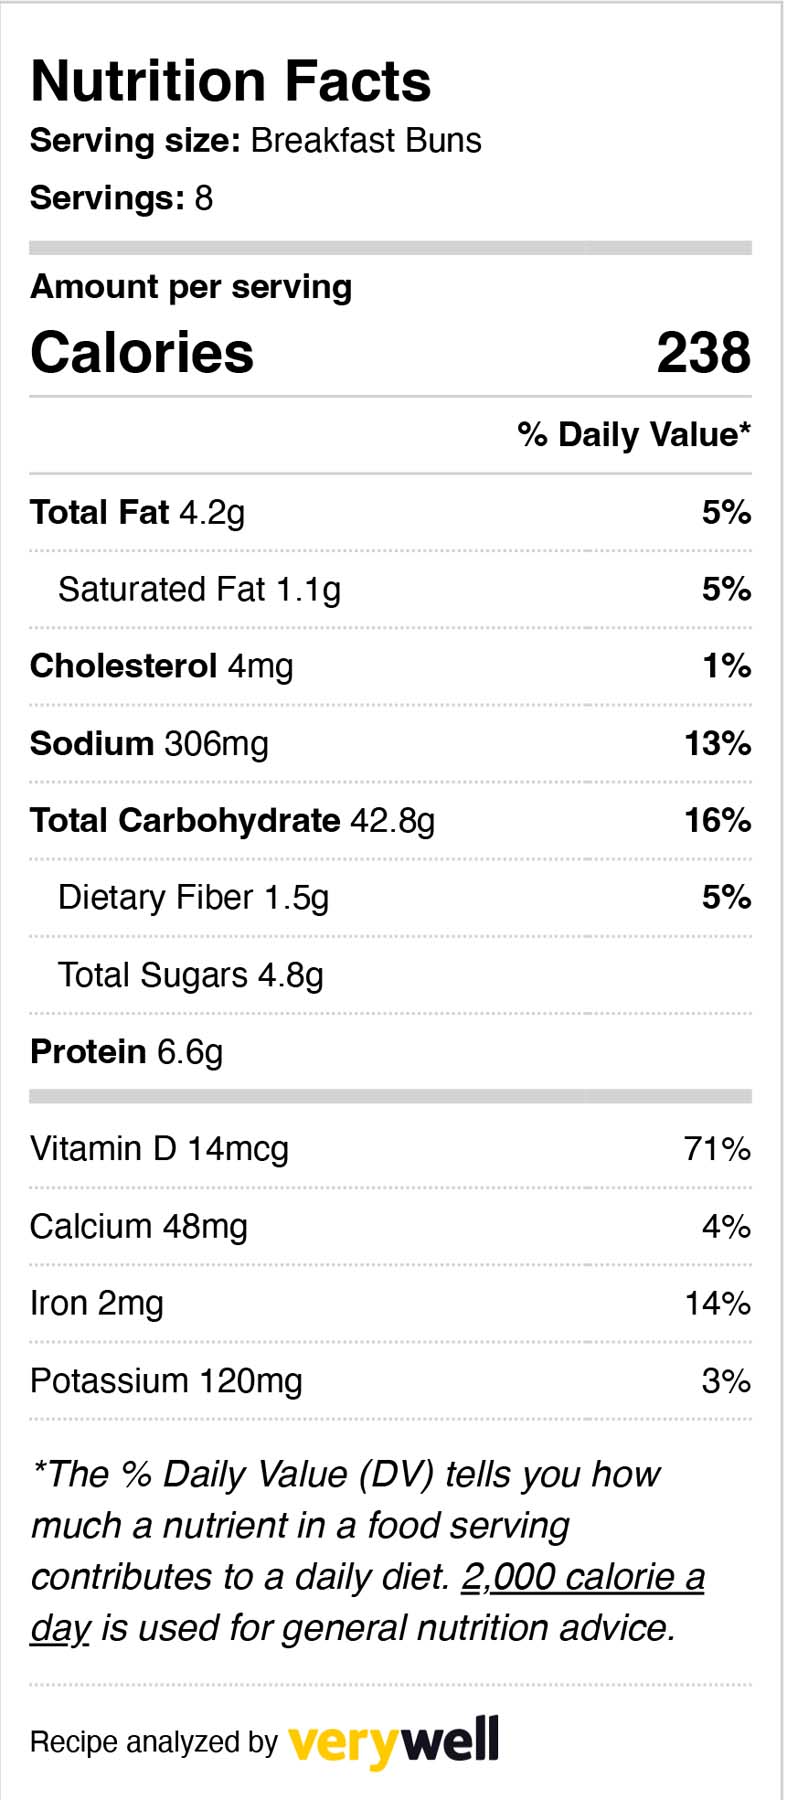
📋 Nutrition Facts

Nutrition
Calories: 238kcal
Tried this recipe?Let us know how it was!